After owning two separate trailers that were destroyed by leaky roofs, I advocate keeping an 18 oz tarp on trailers and RVs year round when stored. Not only does this prevent a tiny leak from costing thousands of dollars in repairs but it also keeps your trailer much cleaner.
If you have a large trailer, or other RV, you will need a big tarp to cover it and a large vinyl tarp can be quite heavy to move around. This post describes an idea for making it easier to mount your tarp into your trailer.
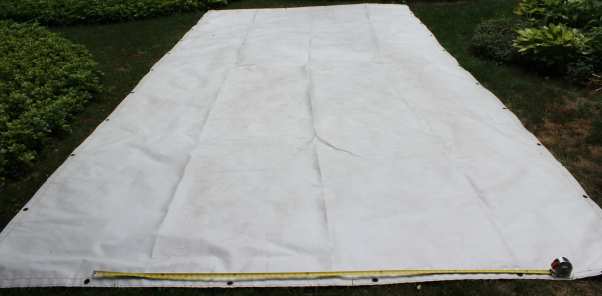 After laying out your tarp oriented with the top facing up, measure the width of your RV and lay out a tape measure next to the end of your tarp to show you where you want to fold up the sides.
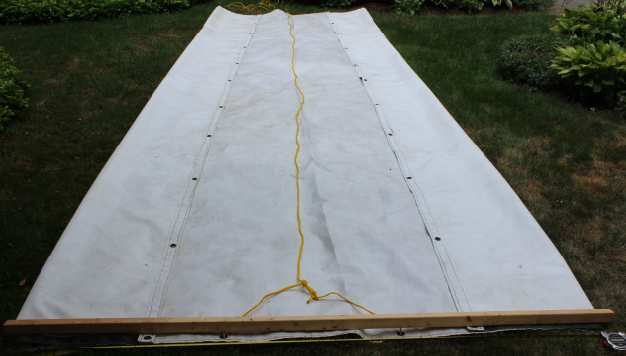 After folding the sides in to match your desired width, tie a long rope to one or two of the end grommets near the middle of the tarp and run the rest of the rope to the opposite side.
If you have a wide pole or 2 x 2 you can lay this along the edge of your tarp to make it easier to roll up. If you don't have something suitable you might want to ask someone to help you roll up the end as it will be a little easier with one person on each side.
At this time, you could also consider fastening a few short ropes to some of the grommets along the tarp and orienting these ropes outward beyond the side edges.
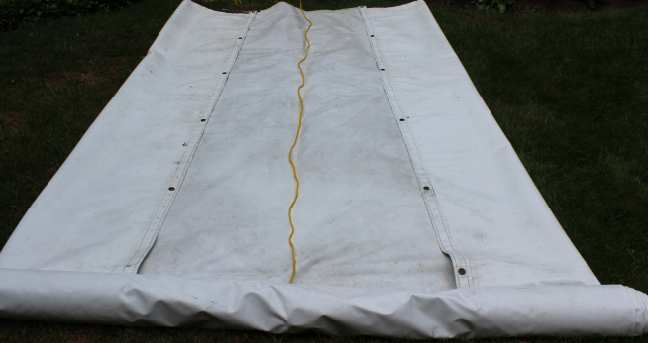 Carefully roll up the tarp, starting from the side where the long rope has been fastened. Try to keep the alignment as straight as possible and make sure the rope stays near the middle of the roll.
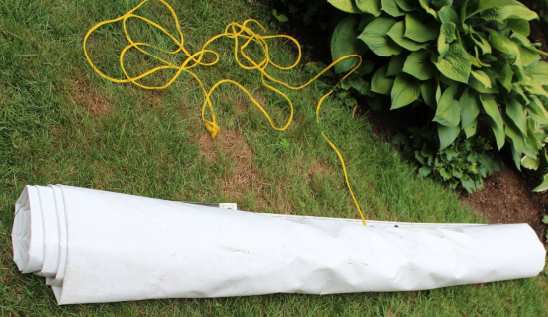 When you are finished the rolled up tarp should look something like this.
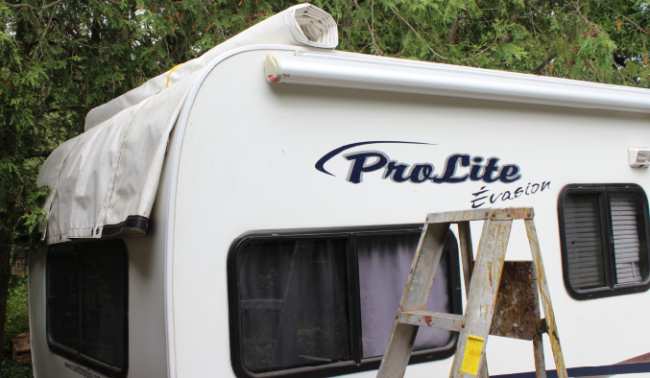 Using a step ladder, and a helper if necessary, lift the tarp into the back of your trailer or RV. At this point you can start to roll out the portion of the tarp that will hang down on the rear of your RV. Take the rope that you inserted into the rolled up tarp and throw this toward the front of the RV.
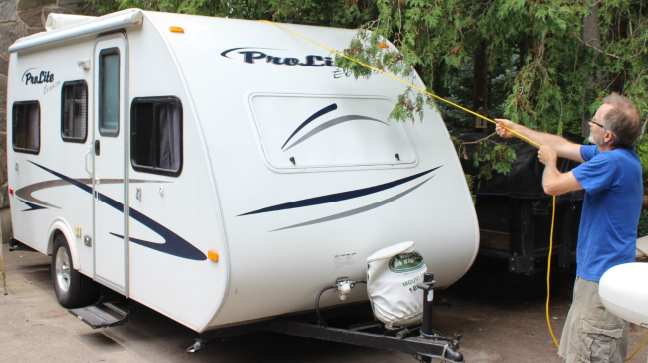 Align the rope with the front and centre of your RV and pull on it. This should cause the tarp to begin to roll out onto the top of your RV. If you have an AC unit or other obstacles on top of your trailer you might need to have someone climb up on a step latter to help the roll get over these barriers.
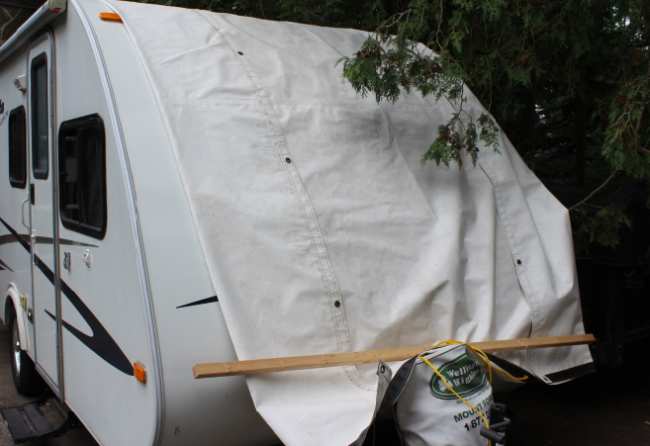 If you had inserted a pole into the roll to facilitate rolling be careful to ensure this does not fall on you when you are nearly finished unrolling.
If you had attached rope to a few of the grommets along the length of the tarp you can simply pull on these ropes to pull the sides of the tarp down. If you did not attach ropes, use your step ladder to help you reach up and pull the flaps down.
Finally, pull on the sides of the tarp to help centre to the location where you want it to rest and tie down a few grommets to keep the tarp from blowing off in high winds.